How to Make Magnesium Lotion at Home (Easy DIY Recipe + Benefits)
Share
How to Make Magnesium Lotion at Home
The most detailed step-by-step guide on the internet — from ingredients and science to troubleshooting and pro tips. Plus: 4 recipe variations for every skin type.
Magnesium is involved in over 300 enzymatic reactions in the body — from energy production and muscle contraction to sleep regulation and mood. Yet research consistently finds that a significant portion of adults don't get enough of it from food alone. Magnesium lotion offers a gentle, skin-friendly way to supplement topically.
This guide covers everything: the science behind transdermal magnesium, exactly which ingredients to use and why, a foolproof step-by-step recipe, troubleshooting for separation, four variations, and an honest comparison with professionally made options. By the end, you'll know exactly how to make magnesium lotion — and how to make it well.
What Is Magnesium Lotion — and How Does It Work?
Magnesium lotion is a skin-care product that combines a high concentration of magnesium chloride (dissolved in water to form a brine) with emollient oils and butters. The result is a creamy, moisturizing lotion that delivers magnesium to the body through the skin — a process called transdermal absorption.
Unlike oral magnesium supplements, which must travel through the digestive system and are subject to the body's absorption limits, topically applied magnesium bypasses the GI tract entirely. This is particularly useful for people who experience digestive discomfort from oral supplements, or who want a targeted approach for specific muscle groups.
Why magnesium chloride — not Epsom salts?
Most DIY magnesium lotion recipes call for magnesium chloride flakes rather than magnesium sulfate (Epsom salt). Magnesium chloride has a higher bioavailability, dissolves more easily, and is less likely to cause skin irritation. It's also more concentrated, so you need less of it to achieve the same effect. When buying magnesium flakes, look for food-grade or USP-grade magnesium chloride.
A note on transdermal absorption
Skin absorption of magnesium is real and supported by peer-reviewed studies, though it's still a subject of ongoing research. A 2017 pilot study published in PLOS ONE found measurable increases in cellular magnesium levels after topical application over 12 weeks. Results vary by individual, skin condition, and the part of the body where lotion is applied.
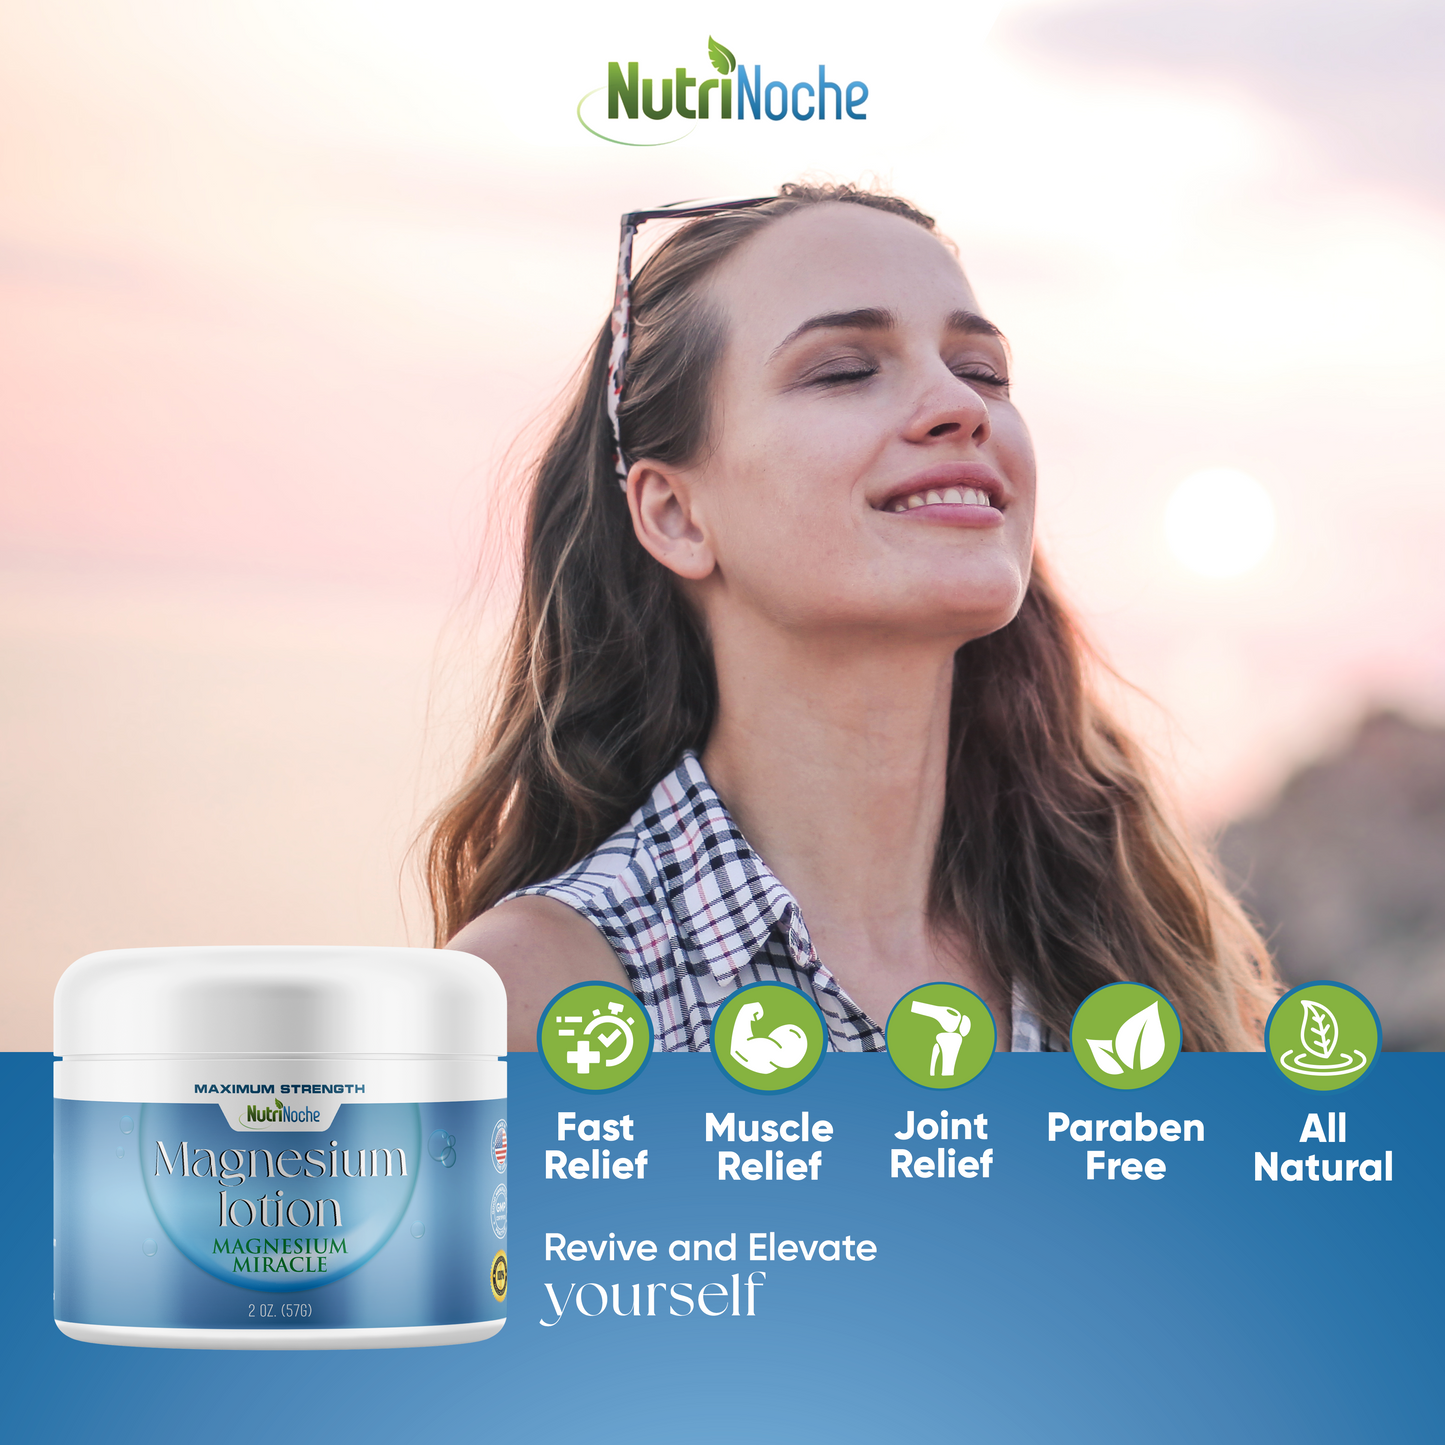
7 Benefits of Magnesium Lotion
Better Sleep Quality
Magnesium regulates melatonin production and activates GABA receptors in the brain, helping quiet an overactive nervous system before bed. Many users apply lotion to their feet or legs 30 minutes before sleep.
Muscle Recovery
Magnesium is essential for proper muscle contraction and relaxation. Athletes commonly apply it directly to worked muscle groups post-exercise to ease soreness and cramping.
Stress & Mood Support
Magnesium helps regulate the HPA (hypothalamic–pituitary–adrenal) axis, the body's central stress response system. Low magnesium is associated with increased anxiety and irritability.
Restless Legs & Cramps
Applying magnesium lotion to the calves and feet before bed is a common folk remedy for restless leg syndrome and nighttime muscle cramps, with growing anecdotal and preliminary clinical support.
Skin Hydration
The carrier oils and butters in magnesium lotion (shea, coconut, beeswax) are excellent emollients that lock moisture into the skin, leaving it soft and nourished beyond the mineral benefits.
Pregnancy Comfort
Many expectant mothers use magnesium lotion for leg cramps, growing belly skin, and general muscle discomfort. Always consult your midwife or OB before introducing new topicals during pregnancy.
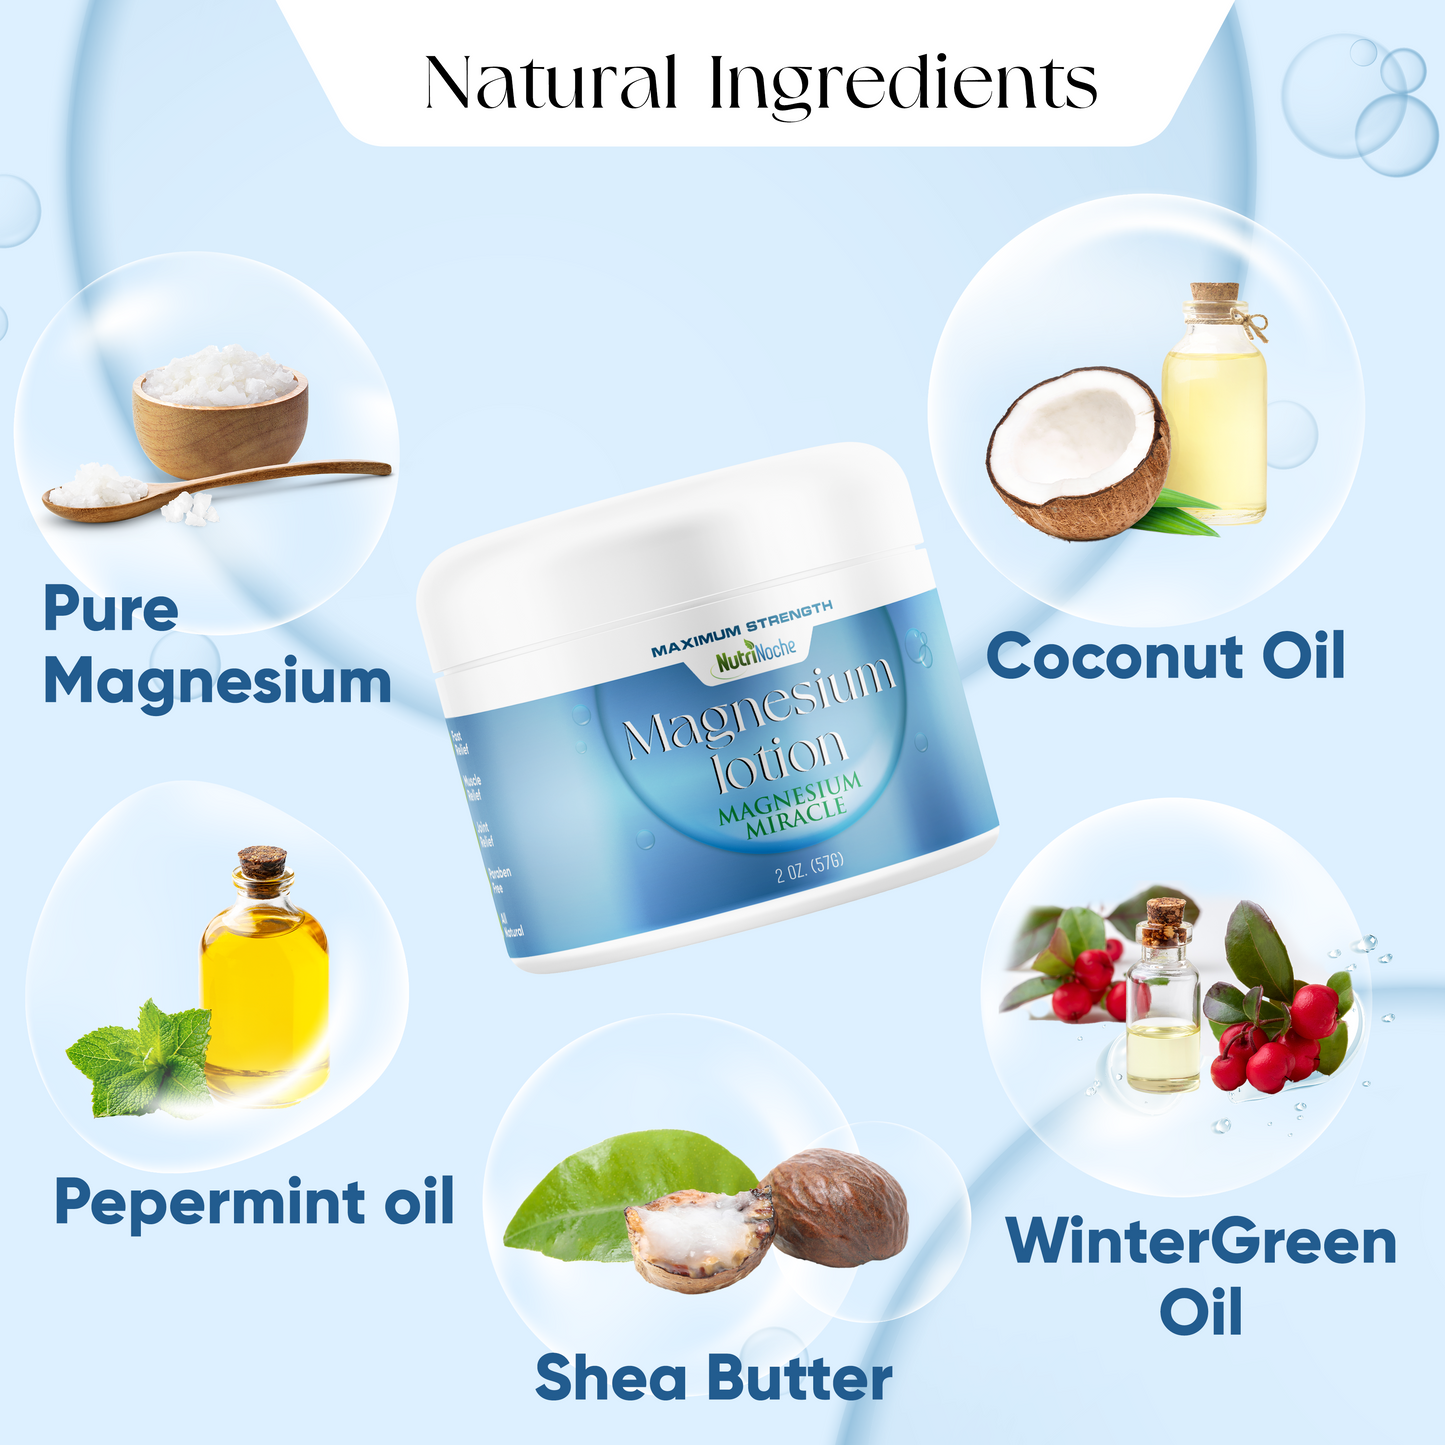
Ingredients — What You Need & Why Each One Matters
Using quality ingredients makes a measurable difference in texture, shelf life, and skin feel. Here's the full breakdown:
🛒 Complete Ingredient List (makes ~8 oz / 240 ml)
Equipment you'll need
Double boiler (or a heat-safe glass jar set in a pot of simmering water) · Immersion blender or hand mixer · Kitchen scale (recommended over volume) · Glass mason jars for storage · Thermometer (optional but helpful) · Silicone spatula
Beeswax clean-up tip
Do NOT wash beeswax down the drain — it will solidify and clog pipes. Instead, wipe all wax-coated tools with paper towels while still warm, then wash with very hot soapy water. Keeping a dedicated set of cheap utensils just for lotion-making is highly recommended.
Step-by-Step: How to Make Magnesium Lotion
The key to a smooth, non-separating lotion is matching the temperatures of your water and oil phases before blending them together. Read through all the steps before you begin.
Make the Magnesium Brine
Heat ½ cup of distilled water until very hot (not boiling — around 160–180°F / 70–82°C). Pour into a heat-safe glass measuring cup or jar. Add the ½ cup of magnesium chloride flakes and stir vigorously until completely dissolved with no visible granules remaining. Set aside and allow to cool to around 100–110°F (38–43°C).
Melt the Oil Phase (Double Boiler)
In the top of your double boiler (or a heat-safe glass jar set in a saucepan of simmering water), combine the beeswax pellets, coconut oil, and shea butter. Stir occasionally over medium-low heat until everything is fully melted and combined into a clear liquid. Remove from heat.
Cool Both Phases to Similar Temperatures
This is the most important step. Let both the oil mixture and the magnesium brine cool until they're at approximately the same temperature — ideally 95–110°F (35–43°C). If the oil solidifies too much, gently reheat. If the brine cools too much, warm it slightly. Mismatched temperatures are the #1 cause of lotion separation.
🌡️ Temperature Reference Guide
Blend the Two Phases Together
Pour the oil mixture into a tall mixing bowl. With your immersion blender running on low, slowly drizzle the magnesium brine into the oils in a thin, steady stream. Do not dump it all at once. As the brine incorporates, the mixture will turn from clear/yellow to an opaque, cream-colored lotion. This is emulsification happening in real time. Blend for 2–3 minutes until the texture is smooth and creamy.
Add Vitamin E & Essential Oils
Once the lotion has emulsified and begun to cool slightly (below 120°F / 49°C), add the vitamin E oil, peppermint essential oil, and lavender essential oil. Blend briefly to incorporate. Adding essential oils too early (when the mixture is too hot) causes them to evaporate and lose their aroma and therapeutic properties.
Test for Stability & Transfer to Jars
Before pouring into your final storage jars, place a small amount (about a teaspoon) on a plate and let it cool for 5 minutes. If it stays creamy without the water pooling away from the oils, your emulsion is stable. Pour the still-liquid lotion into clean, dry glass mason jars. Allow to cool completely at room temperature (2–4 hours) before sealing.
Storage & Shelf Life
Store finished lotion in a cool, dark place. It will firm up as it cools and develop a thick, body-butter consistency. Homemade magnesium lotion without preservatives lasts approximately 4–8 weeks at room temperature, and up to 3–4 months in the refrigerator. Always use a clean, dry spoon or spatula to scoop — fingers introduce bacteria and shorten shelf life.
4 Recipe Variations for Different Goals
Once you've mastered the base recipe, it's easy to customize. Here are four targeted versions:
😴 Sleep Formula
Use base recipe + swap essential oils:
- 15 drops lavender essential oil
- 8 drops cedarwood essential oil
- 5 drops vetiver essential oil
- Add 1 tsp chamomile-infused carrier oil
Apply to: feet, calves, wrists 30 min before bed
💪 Muscle Recovery Formula
Use base recipe + increase magnesium flakes to ¾ cup, swap essential oils:
- 15 drops peppermint essential oil
- 10 drops eucalyptus essential oil
- 8 drops wintergreen essential oil
Apply to: worked muscle groups immediately post-exercise
🌸 Sensitive Skin Formula
Use base recipe + reduce magnesium to ¼ cup, swap oils:
- Replace coconut oil with avocado or jojoba oil
- Add 1 tbsp aloe vera gel (add after cooling)
- Use only lavender EO at 5 drops max
- Skip peppermint entirely
Apply to: all body areas, patch test first
🤰 Pregnancy Formula
Use base recipe + modify:
- Skip peppermint & eucalyptus EOs
- Use lavender (pregnancy-safe) at 10 drops max
- Add ¼ cup cocoa butter (great for stretch marks)
- Reduce to ¼ cup magnesium flakes
⚠️ Always consult your OB or midwife first
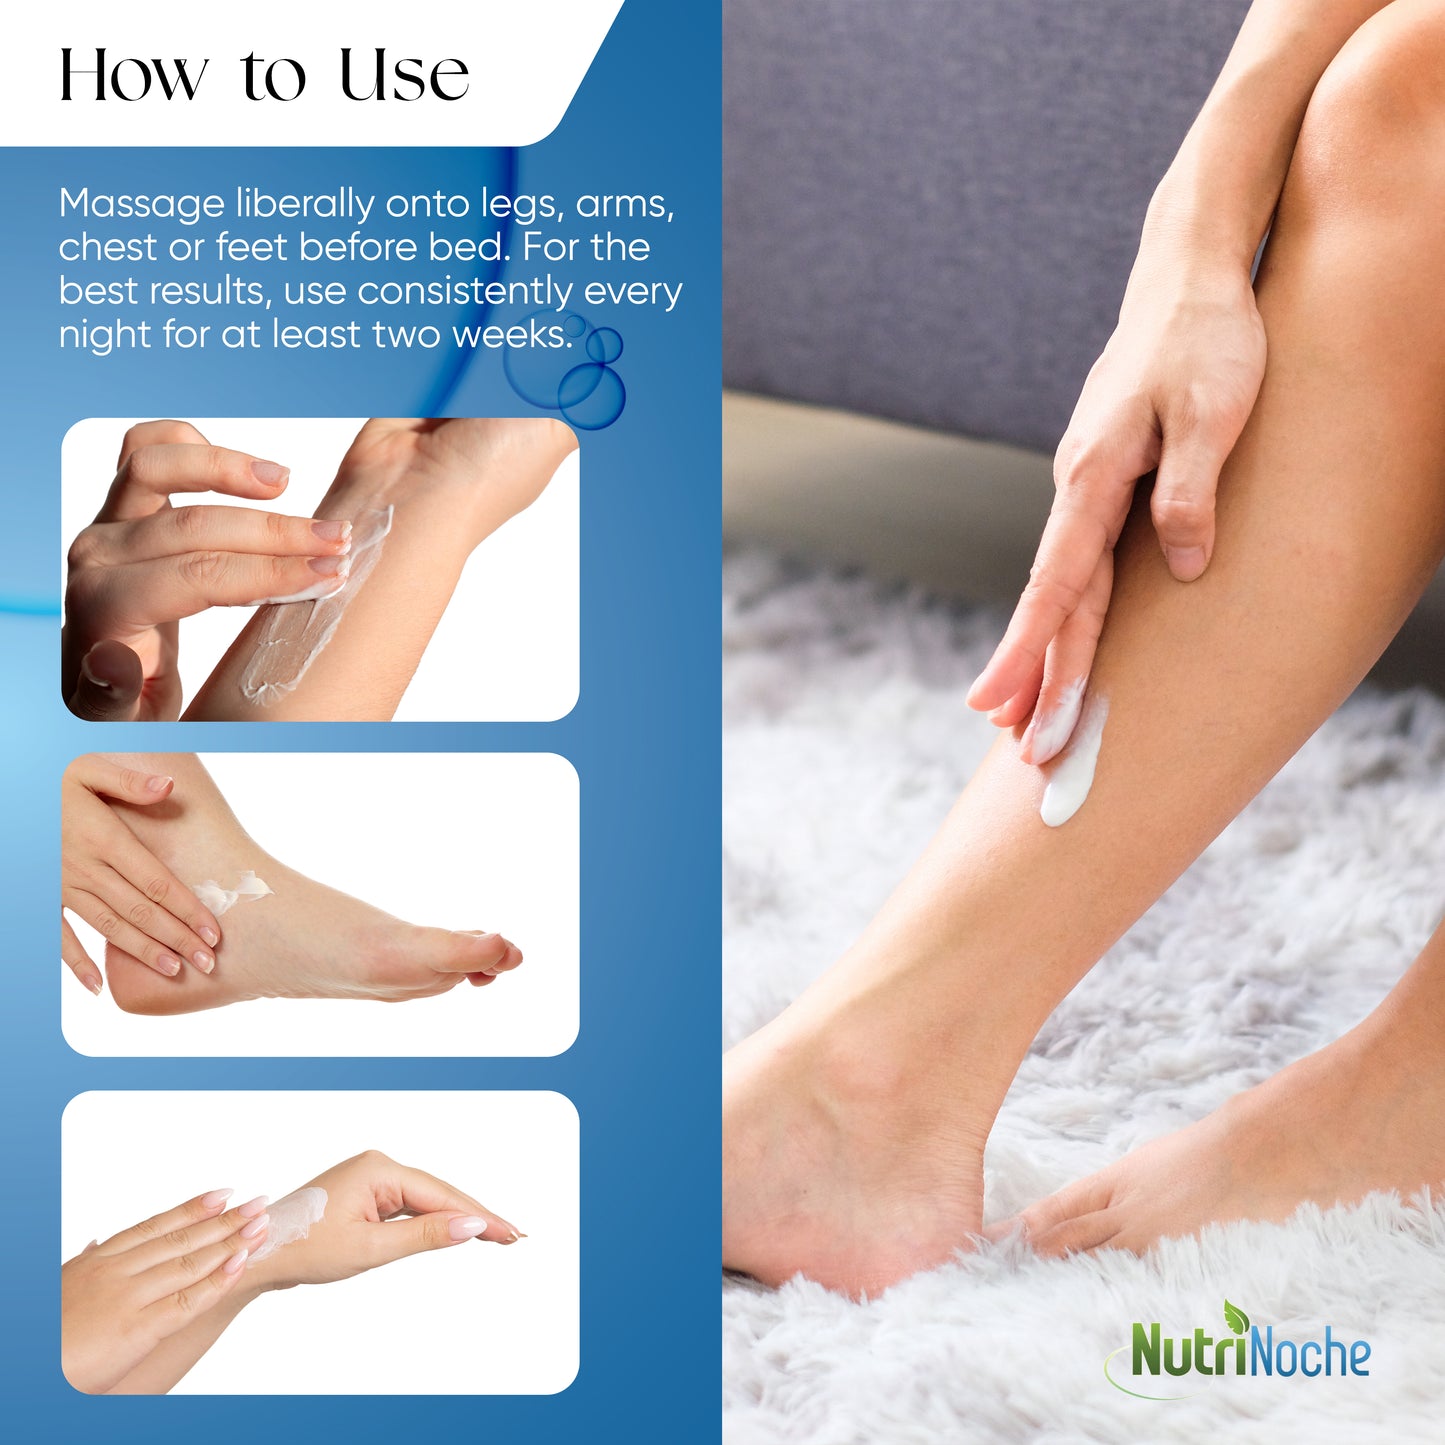
How & Where to Apply Magnesium Lotion
Application method matters as much as the lotion itself. Here's how to get the most out of each use:
Best areas to apply
Magnesium absorbs best through thin-skinned areas with good circulation. The most effective application sites are: the inside of the wrists and forearms, the back of the knees, the inner ankles and feet, the stomach and sides of the torso, and the neck and upper chest. These areas have thinner skin and more surface blood vessels, which may support better transdermal absorption.
How much to use
Start with ½ to 1 teaspoon per application. Most people find 1–2 teaspoons per day is sufficient. There's no strong evidence that more lotion equals proportionally more benefit — consistency matters more than quantity.
When to apply
For sleep: apply 30–60 minutes before bed to feet, calves, and wrists. For muscle recovery: apply immediately after exercise to the specific muscle groups worked. For general wellness: apply after a shower when pores are open and skin is slightly warm.
Avoid these areas
Do not apply to freshly shaved or broken skin — the magnesium chloride will sting. Avoid the face unless the formula has been significantly diluted. Keep away from eyes and mucous membranes. If you notice persistent irritation, discontinue use and consult a dermatologist.
Pro Tips for the Best Results
💡 Pro Tips from Experienced Lotion Makers
DIY vs. Store-Bought Magnesium Lotion: An Honest Comparison
Making your own magnesium lotion is rewarding and cost-effective — but it's worth knowing exactly what you're trading off compared to a professionally formulated product.
| Factor | DIY Homemade | Professional Formula |
|---|---|---|
| Cost per batch | ~$3–5 per 8 oz batch | $20–60 per equivalent size |
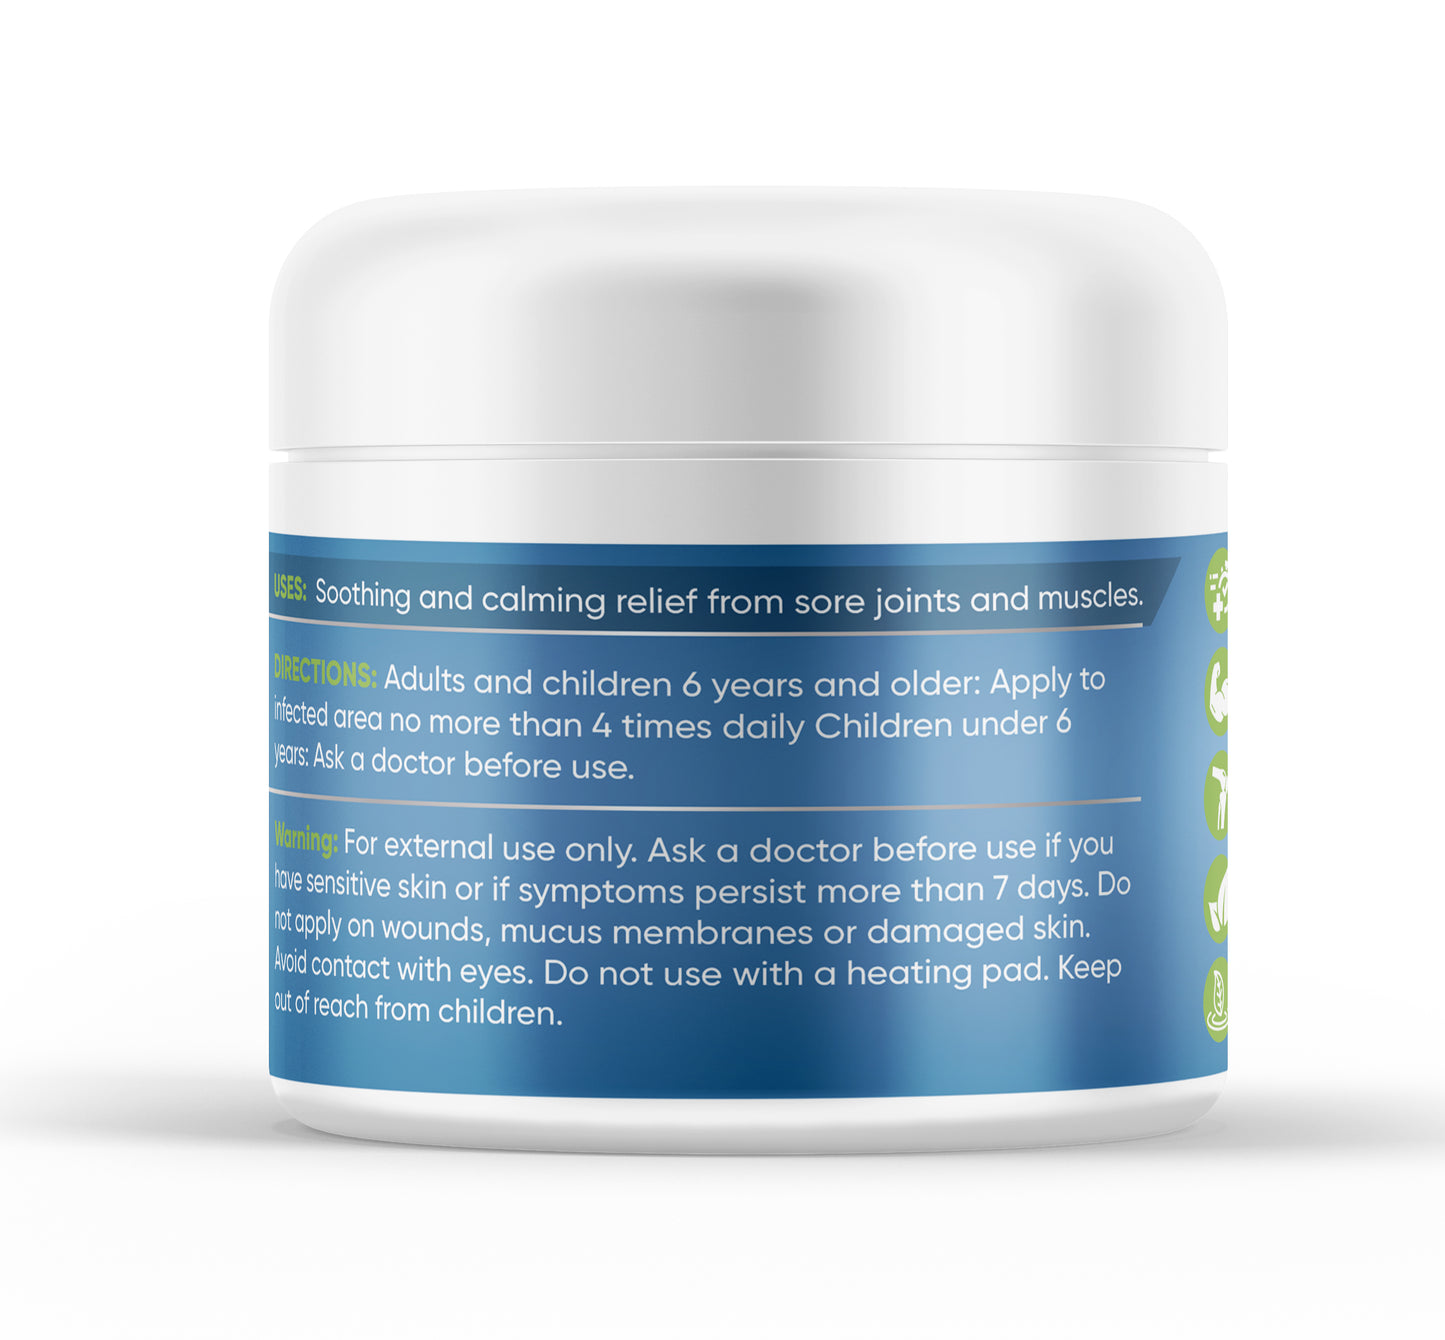
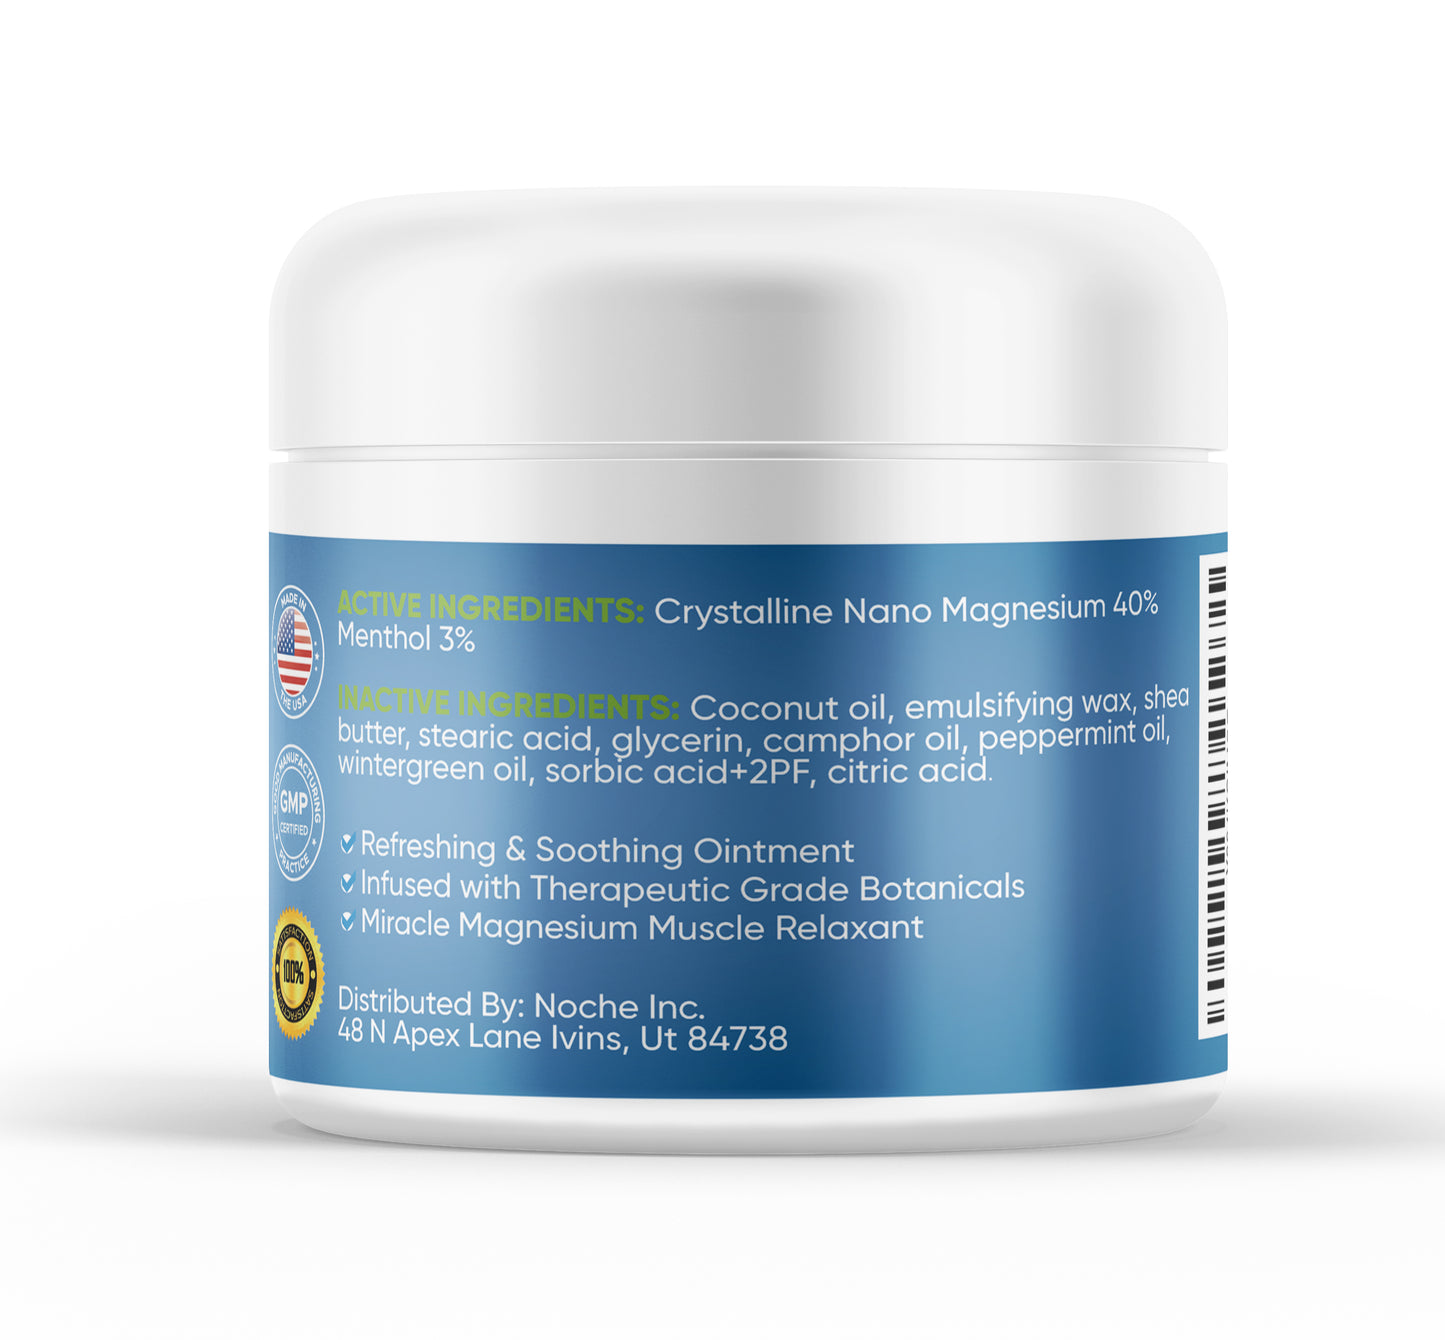
| Magnesium concentration | Variable — depends on your ratio (typically 15–25%) | Precisely measured; quality products like NutriNoche use 40% nano-magnesium for enhanced absorption |
| Texture consistency | Varies batch to batch; can be grainy or separated | ✓ Pharmaceutical-grade emulsification; smooth every time |
| Shelf life | 4–8 weeks (room temp); up to 4 months (fridge) | ✓ 12–24 months with proper preservative systems |
| Ingredient control | ✓ Full transparency — you choose everything | Dependent on brand transparency |
| Customization | ✓ Infinitely customizable to skin type and goal | Fixed formula |
| Time investment | 30–45 minutes per batch + cleanup | ✓ None — arrives ready to use |
| Nano-particle absorption tech | ✗ Not possible at home | ✓ Available in advanced formulas |
The bottom line: homemade magnesium lotion is an excellent starting point, especially if you want to understand what's going into your product and experiment with different formulas. As you look for more consistent results, a higher magnesium concentration, or the convenience of not making a new batch every month, a professionally formulated product can fill the gap.
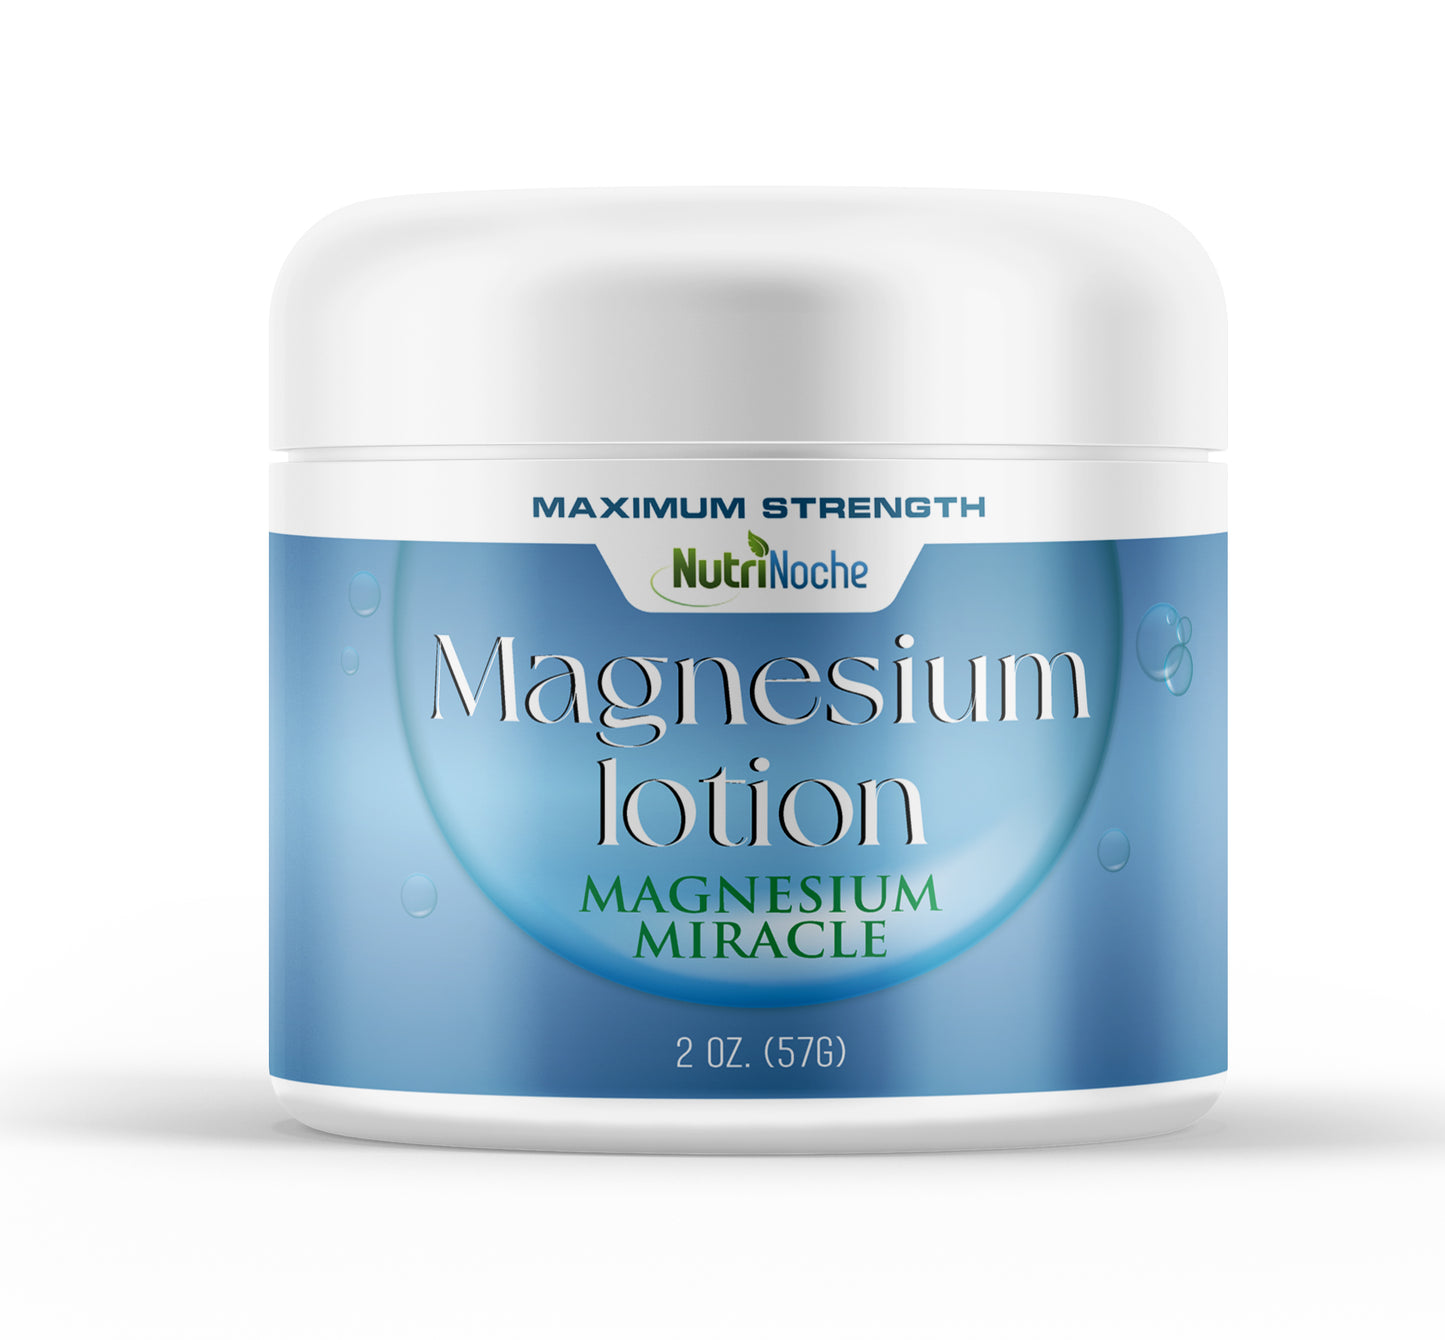
Ready to Skip the DIY?
Our professional formula delivers 40% nano-magnesium with menthol for a deep cooling, fast-absorbing experience — no mixing, no separation, no guesswork.
Frequently Asked Questions
Final Thoughts
Making magnesium lotion at home is one of the most accessible and rewarding DIY wellness projects you can try. The ingredients are inexpensive, the process is straightforward once you understand the temperature science, and the result — a rich, nourishing lotion packed with an essential mineral — is something you can feel good putting on your body.
Start with the base recipe, pay attention to temperatures, and don't be discouraged if your first batch separates. Even experienced lotion makers troubleshoot. Once you've nailed the formula, experiment with the variations to find what works best for your specific goals — better sleep, faster muscle recovery, or simply a more mindful evening routine.
And if you ever want to skip the mixing and reach for something with higher magnesium concentration and a longer shelf life, that option is just one click away.